
Autodesk DXF files are useful for data interoperability between software suites like AutoCAD and SolidWorks, helping professionals who may be exchanging files on a project across engineering, architecture or manufacturing.
Table of Contents
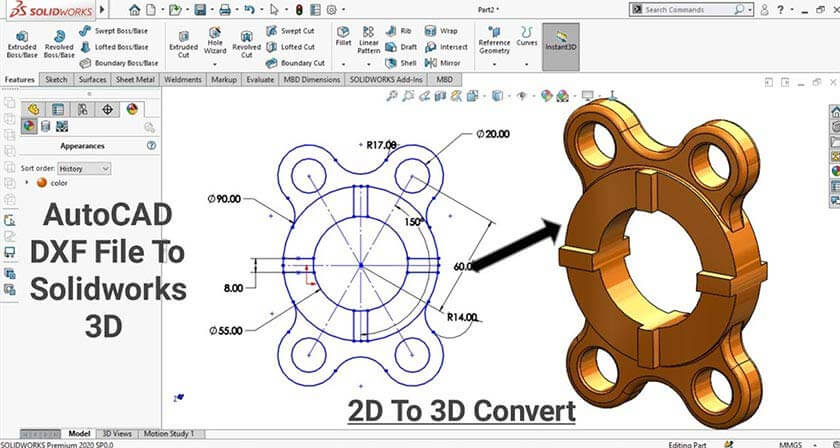
Most custom and discrete manufacturers use CAD design tools for design and manufacturing. Designers pass DWG and DXF files back and forth to communicate their design intent. Using DXF for sheet metal part design is especially useful for 2D drawing data transfer.
When you are working in a production that involves different departments you need to understand how to work with DXF files. This is because you’ll need to share designs between different applications and you can do this easily by using DXF files.
DXF is a file format for CAD files developed by Autodesk to allow drawing data to be exchanged between AutoCAD and other compatible applications. You use DXF files if you want to switch between various CAD platforms, like if you need to import a DXF into SolidWorks from another CAD tool.
The best parts about DXF files are that they preserve the original design. You will never end up with extra, distorted, and/or lost geometric data, layers, line types and other information when using DXF files. You should never lose the design simply because you are sharing design files across AutoCAD, SolidWorks, and other CAD tools.
Importing a DXF file into SolidWorks is a straightforward process. But if you do not pay attention to a few details you can end up breaking your original design during import.
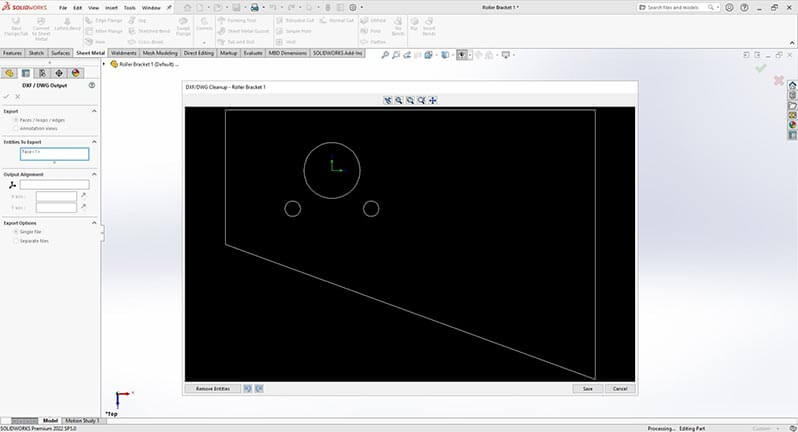
Before beginning the import process, you start with cleaning the file down to only the geometry you need. Cleaning your file minimizes the chance of introducing extra errors into your import data.
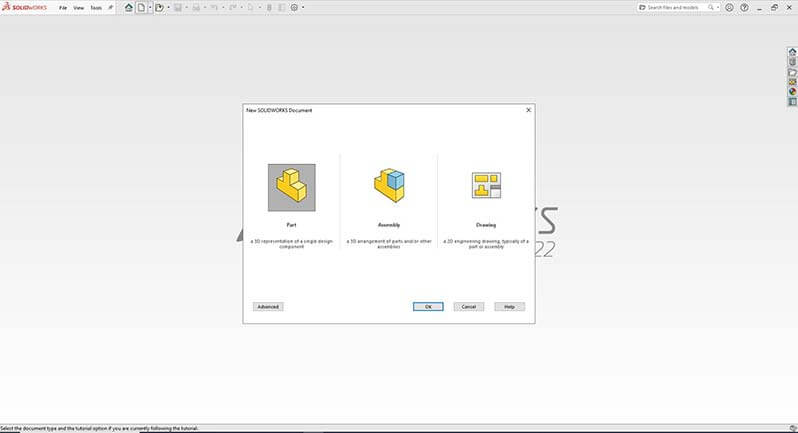
Open SolidWorks and a new sketch (this is where you will be importing the DXF data, or where you will place your DXF data).
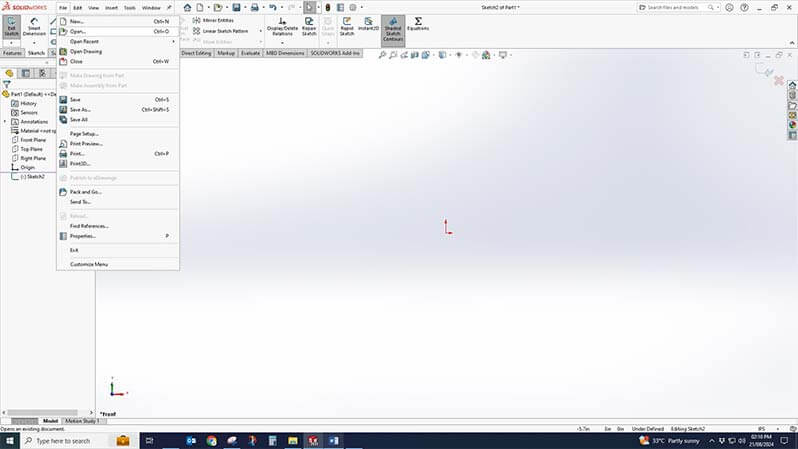
From the menu select File, and then open, navigate to your DXF file and open.
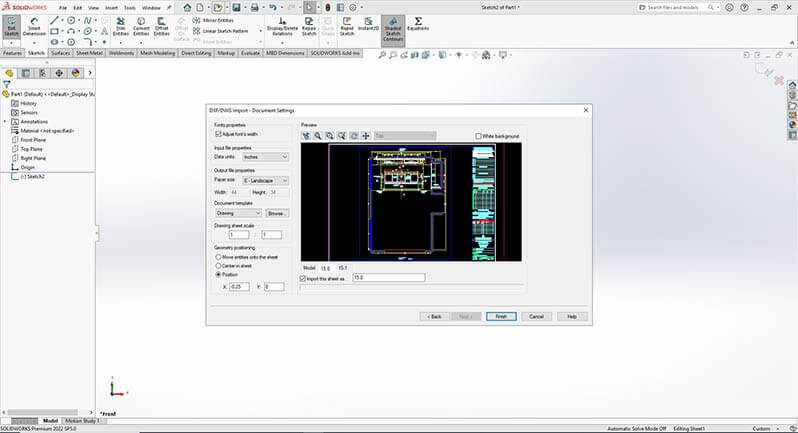
When SolidWorks opens the DXF/DWG import wizard, select the first option to import DXF as 2D sketch, 3D curves, or 3D model.
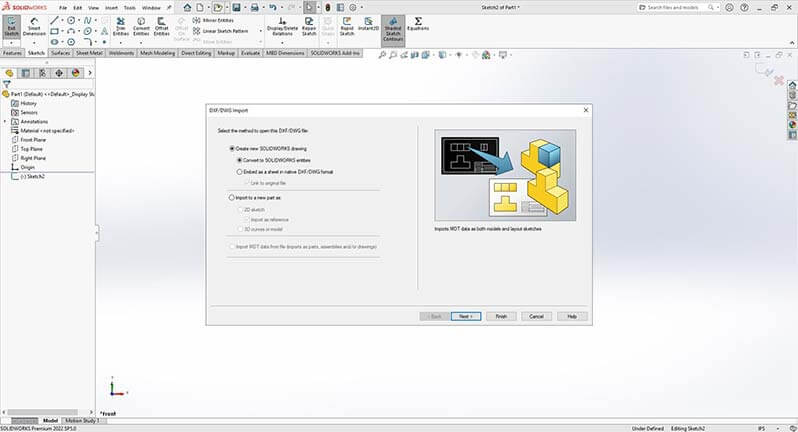
You will now map layers of the DXF to sketch entities in SolidWorks. Please be careful in this step. This will let you preserve the data structure during the import.
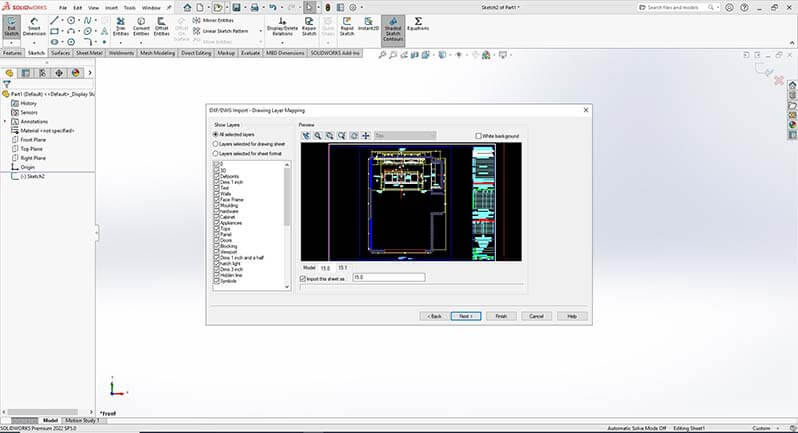
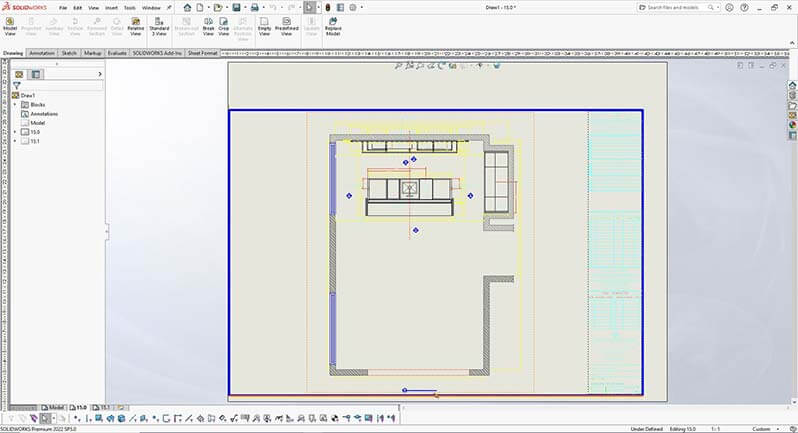
Once the file is imported, carefully inspect the sketch and repair any issues or fix any inconsistences.
Upgrade your designs with professional 2D to 3D CAD conversion.
Contact Our Experts »Before you share the design with a team that may be using different tools, you first need to get the DXF file from your SolidWorks project. Here is how to do it.
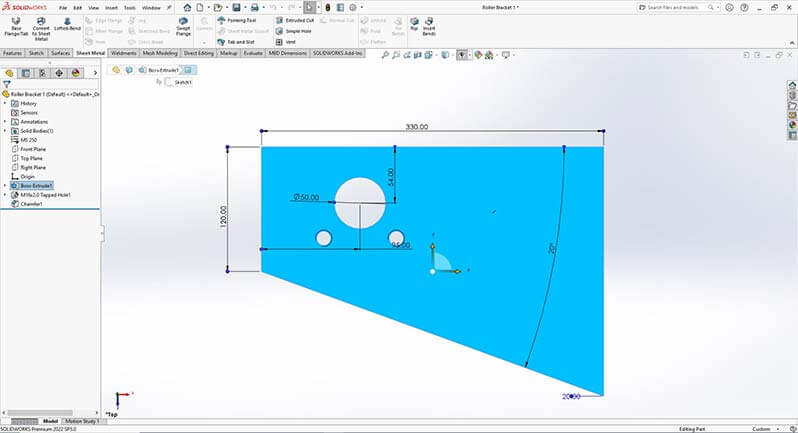
Create a new part, or assembly, or open an existing part or assembly.
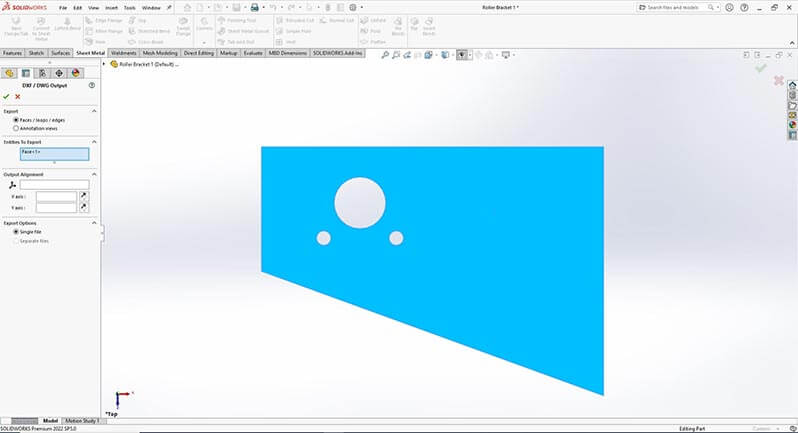
Select the face, or flat pattern of the part which you want to export.
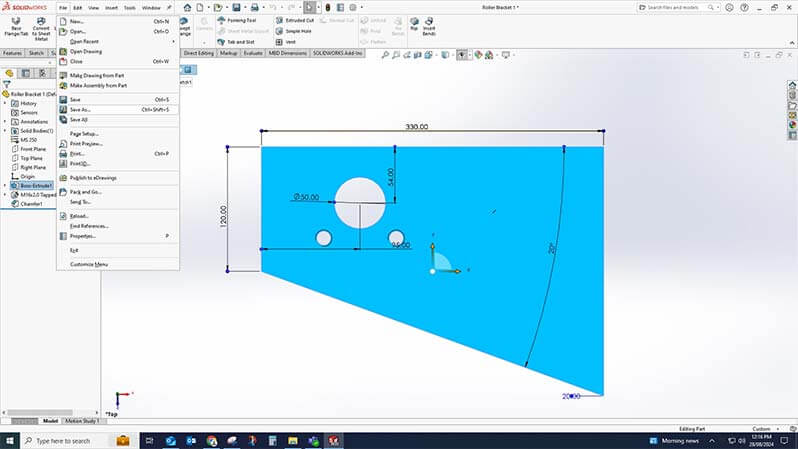
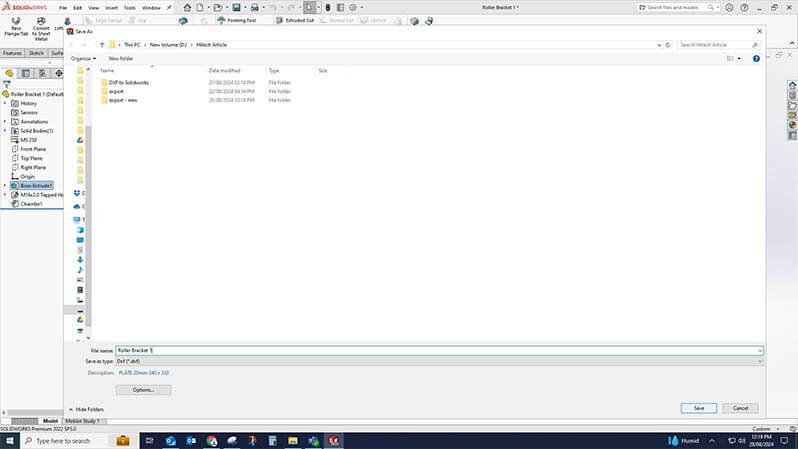
From the ‘File’ menu select ‘Save As’ and select DXF (.dxf) from the type dropdown list.
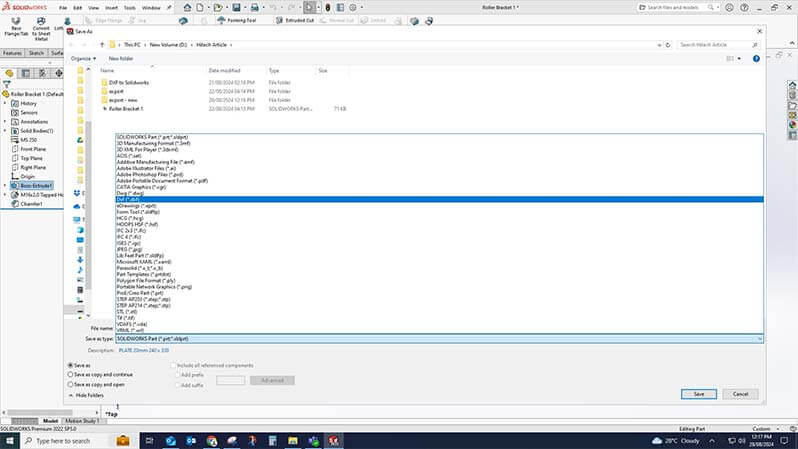
In the Export Options dialogue box, select the required settings for the output version, geometry options, and other settings.
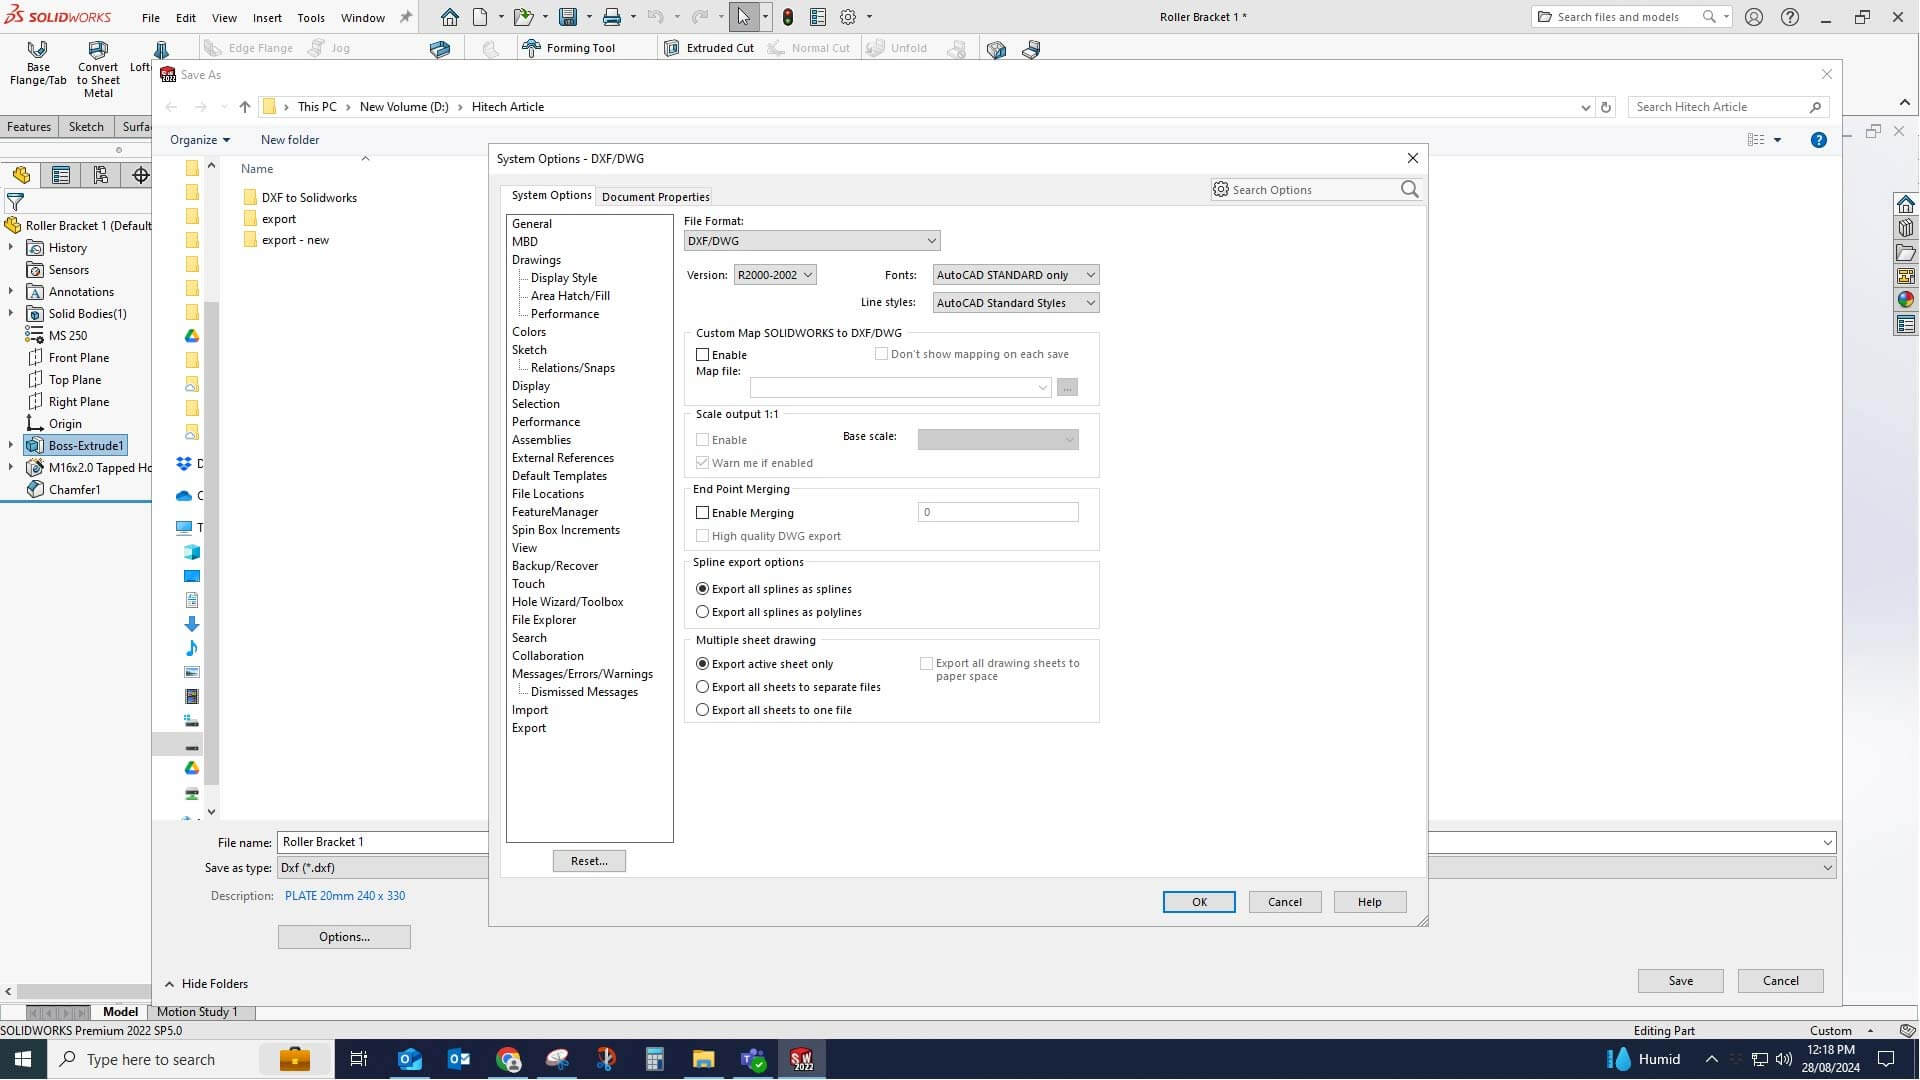
Now press ‘Save’ and check out the preview to ensure that the exported DXF file is ok.
During DXF to CAD conversion, you may encounter some problems. You will need to follow a few things to solve them.
Problems you might face:
How you can solve these
Need precise concept designs? Let us draft them for you.
Get in touch today »The following will help you work faster, design better, and more efficiently leverage the SolidWorks advantages for DXF handling:
When you want to use your SolidWorks DXFs for different industries, you must review your files for manufacturability while being specific to the industry you are designing for.
Here are some guidelines you must consider based on industry:
Furniture designs are complex because there are several parts that must all fit together in a specific way.
When dealing with design files for woodwork and cabinetry here are a few things to keep in mind:
When using DXF files for sheet metal parts and structures these suggestions can help you:
3D modeling & fabrication drawing for stairlifts manufacturer in Europe
A stairlift manufacturer in Europe was struggling to manage their design data with global and international standards. They were also struggling to match fabrication information with the bending machines they had. Special bends were lengthening lead times for them.
Hitech CADD Services assisted with migrating the company’s legacy AutoCAD drawing files by converting with SolidWorks APIs to retain all of the functionality. We built tools using C++, SQL, Java, and .NET to automate the process of producing standard CAD Models in 3D and producing fabrication and general arrangement drawings.
Results were:
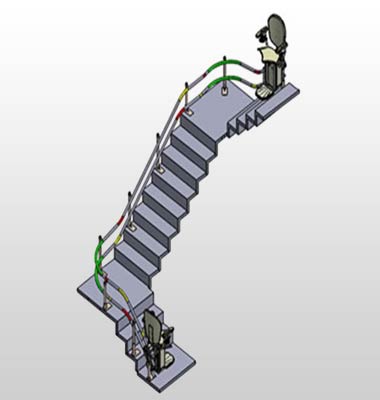 Stairlift 3D Model
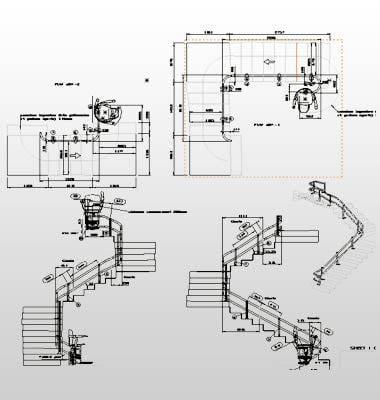 Manufacturing Drawings
You cannot underestimate the utility of DXF files in CAD design to exchange information without any errors between different platforms. If you implement these best practices of importing and exporting DXF files in SolidWorks you will definitely see the results.
This will allow you to manage common problems and improve the overall design to production process. Whether in the furniture industry, millwork or metal fabrication, managing DXF files in SolidWorks is an important process for you.
Nimesh Soni brings more than 15 years of experience in sheet metal design and automation to Hitech CADD Services. His expertise with SAP/PLM and CAD tools like AutoCAD and SolidWorks, drives innovation throughout the design-to-manufacturing process. Nimesh, who holds a doctorate in IoT applications, is an authority in optimizing industrial processes, constantly delivering extraordinary efficiency and performance benchmarks in engineering solutions.
You may also like
Point Cloud to Revit: The Backbone of Scan to BIM Projects
The Role of Millwork Detailing in Modern Architecture